
Basic usage
Ncat always operates in one of two basic modes:
connect mode and
listen mode.
In connect mode, Ncat initiates a connection (or sends UDP data) to a service that is
listening somewhere. For those familiar with socket programming,
connect mode is like using the connect function.
In listen mode, Ncat waits for an incoming connection (or data receipt), like using the
bind and listen functions.
You can think of connect mode as “client” mode and listen
mode as “server” mode.
To use Ncat in connect mode, run
ncat <host> [<port>]
<host> may be a hostname or IP
address, and
<port> is a port number. Listen mode is the
same, with the addition of the
--listen option (or
its -l
alias):
ncat --listen [<host>] [<port>]
ncat -l [<host>] [<port>]
In listen mode, <host> controls the address
on which Ncat listens; if you omit it, Ncat will bind to all local interfaces (INADDR_ANY). If the port number is omitted, Ncat uses its
default port
31337.
Typically only privileged
(root)
users may bind to a port number lower than
1024.
A listening TCP server normally accepts only one connection and will
exit after the client disconnects. Combined with the
--keep-open
option, Ncat accepts multiple concurrent connections up
to the connection limit. With --keep-open (or
-k for short), the server receives everything sent by
any of its clients, and anything the server sends is sent to all of
them.
By default, Ncat uses TCP. The option
--udp
or
-u
enables UDP instead,
and
--sctp
enables SCTP.
Ncat listens on both IPv4 and IPv6, and connects to either address family as well. The
-6
option forces IPv6-only, and
-4
forces IPv4-only. See the section called “Protocols” for more details.
The rest of this guide documents all the Ncat options through
descriptions and examples. For a quick summary of options at any time,
run
ncat --help
or man ncat.
A Connect Mode Example
A good way to start learning about Ncat (and network protocols in
general) is to connect to a network service and talk with it. In
this case we use Ncat to manually retrieve a web page from an HTTP
server, just as web browsers do in the background when you visit a
web site.
Example 1
shows a (truncated) sample session. Try it yourself!
Text in bold is what you type; everything else is what comes
back. The blank line after the GET line is
required—just hit enter twice.
$ncat -C scanme.nmap.org 80GET / HTTP/1.0HTTP/1.1 200 OK Date: Thu, 05 Feb 2009 15:31:40 GMT Server: Apache/2.2.2 (Fedora) Last-Modified: Mon, 19 May 2008 04:49:49 GMT ETag: "fc8c91-2e3-44d8e17edd540" Accept-Ranges: bytes Content-Length: 739 Connection: close Content-Type: text/html; charset=UTF-8 <html> <head> <title>Go ahead and ScanMe!</title> </head>
Here we have instructed Ncat to connect to the host
scanme.nmap.org
on port 80, the port for HTTP. The -C option turns
on CRLF replacement,
which replaces any line endings you type with CRLF. CRLF line
endings are required by many protocols, including HTTP, though many servers will accept a plain newline (LF) character.
GET / HTTP/1.0 requests the root document of
the server; we are retrieving the same document named by the URL
http://scanme.nmap.org:80/. The web server responds with a status code
(HTTP/1.1 200 OK), followed by the
HTTP header and the text of the web page. If you try this with other
web servers, note that many of them are actually virtual hosts and you
will need to send the Host header field. See
RFC 2616 for
more information about HTTP.
A Listen Mode Example
So much for using Ncat as a web browser. What about a web server?
That's possible too; it just takes a bit of preparation. The first
step is to create the document to serve. Create a text file called
hello.http with these contents:
HTTP/1.0 200 OK

<html>
  <body>
    <h1>Hello, world!</h1>
  </body>
</html>
Now run the command
ncat -l localhost 8080 < hello.http. This
instructs Ncat to listen on the local port 8080 and read
hello.http on its input. Ncat is now primed to
send the contents of the file as soon as it receives a connection.
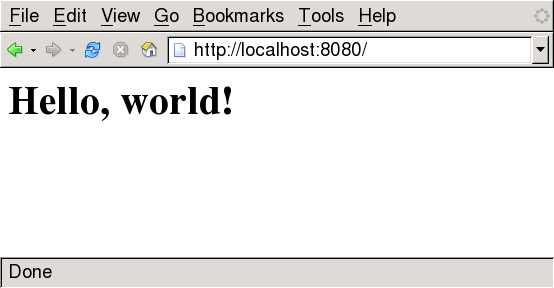
Now open a web browser and type in the address
http://localhost:8080/.
Figure 1
shows a sample of what will appear.
In the terminal where you ran Ncat, you will see everything the web
browser sent to request the page. You should see a
GET
line like the one you sent in
the connect mode example. This shows that Ncat by default both sends
and receives.
If you try to refresh the page, it won't work. That's because Ncat ran out of input; it won't re-send what has already been sent. For more information on making a server that continually responds to requests, see the examples in the section called “Emulating Diagnostic Services”. More HTTP server tricks can be found here in the section called “Turn Ncat into a simple web server”.